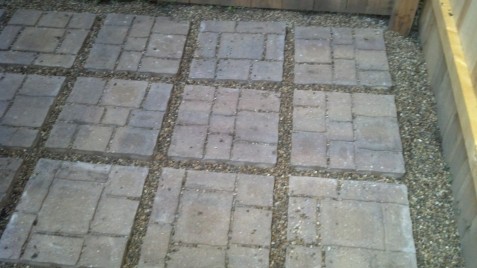
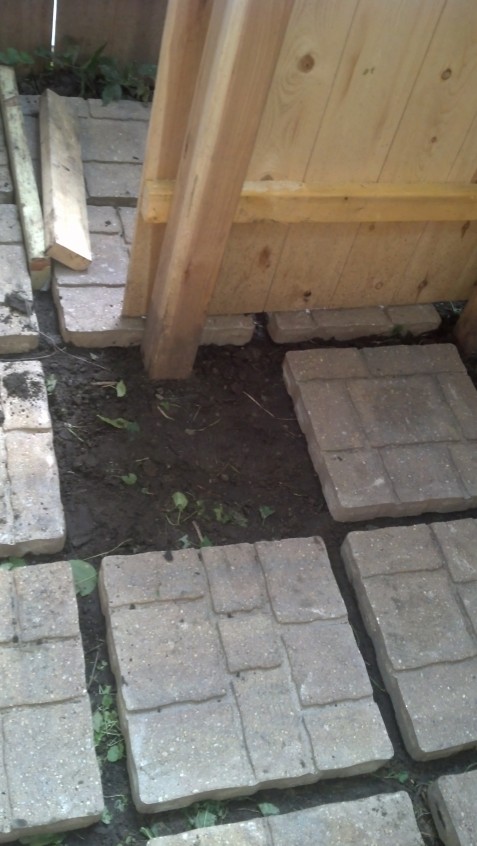
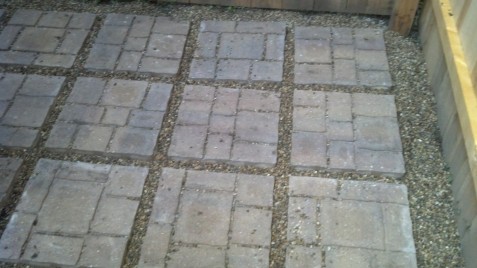
The floor is complete!
This weekend, we made some more progress on the shower, despite the unusual cold (it was a high of only 62 that weekend, and I was wearing jeans, long sleeve shirt and a fleece jacket the whole weekend L ). We lugged all of the stones to the island….that was hard. Each stone weight 42 pounds and our boat say s it can only carry 500 pounds total. But we did manage to get them all over to the island in only tow boat trips (and one 30 min drive from the hardware store).
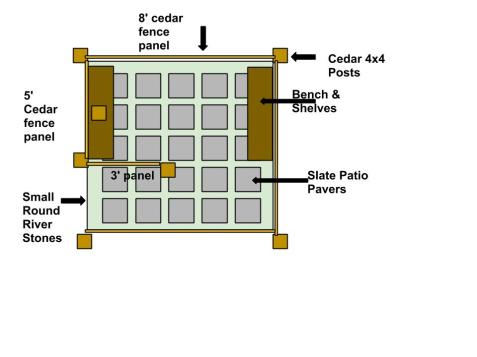
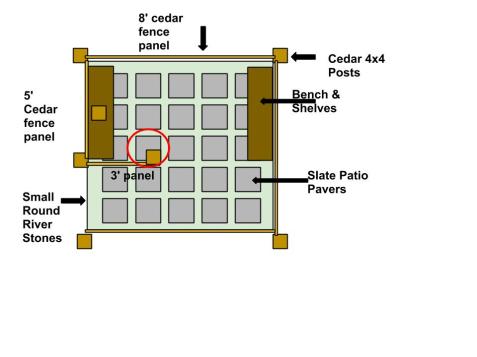
My original design of the shower:
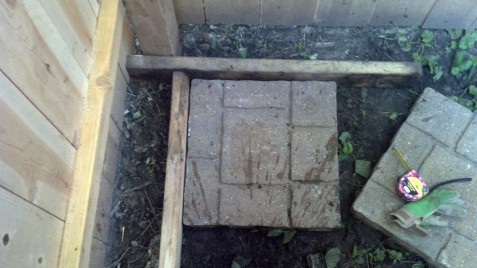
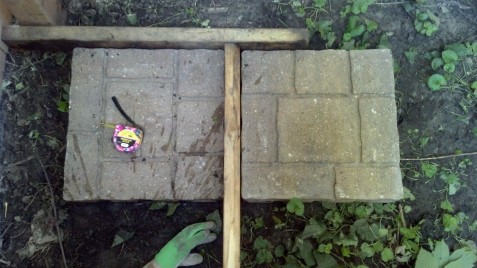
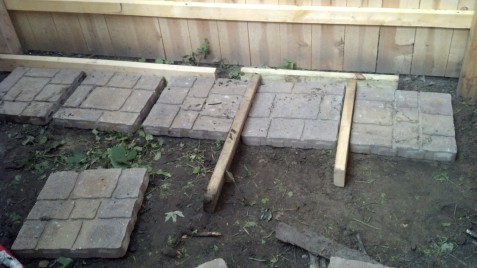
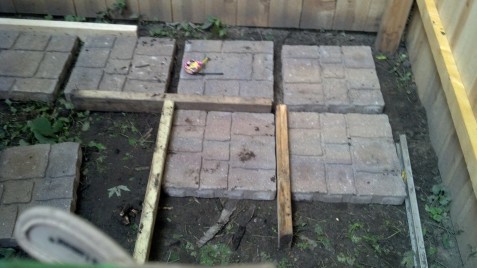
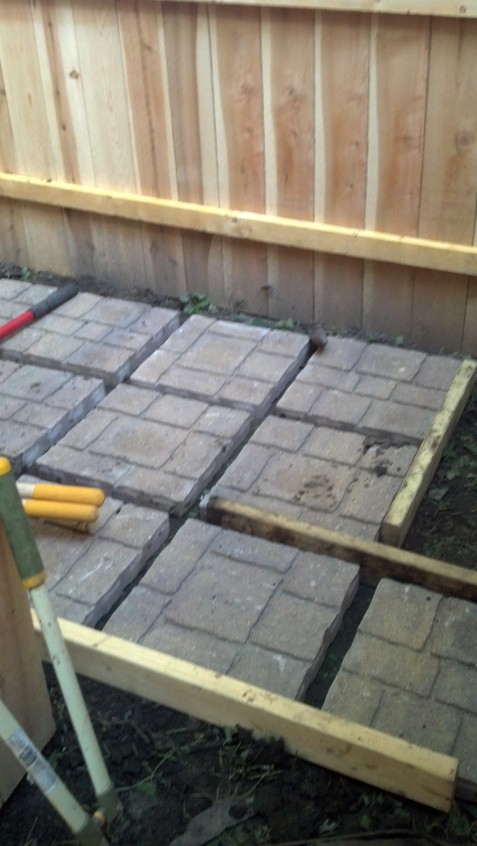
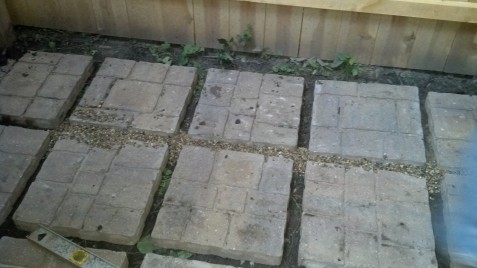
I love the simplicity I built into the design. In the design there is a 5” gap around the big patio stones and a 1.5” gap between each stone and then the gaps are filled in with small pea stones.. To get this gap was very easy, the 4×4 posts are actually 3.5”x 3.5” and some scrap 2x4s are actually 1.5”x 3.5”. So to get the gaps I want, I just use the scrap 2x4s as spacers when I placed the stones. For the first stone, use two 2x4s against the 4×4 to place the first stone.
Then for each additional stone, use the 2x4s for spacers between each stone.
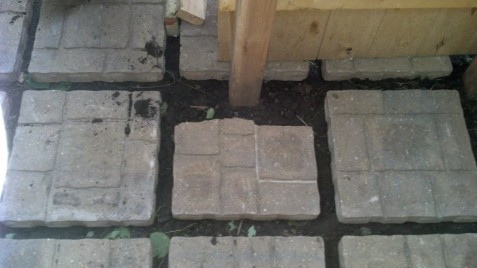
I know I would have a problem with just one stone based on this design:
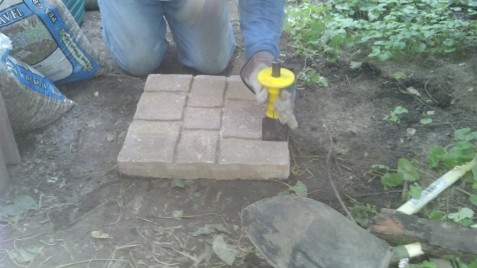
I was planning on using a circular saw to cut the stone, so the 4×4 fits, but we decided to try a chisel first, since the stone did have some natural breaks already to pound into.
Unfortunately, after just a few hits, it broke a big piece than we expected. But, the pea stones will fill in the gap and I think I will still look good.
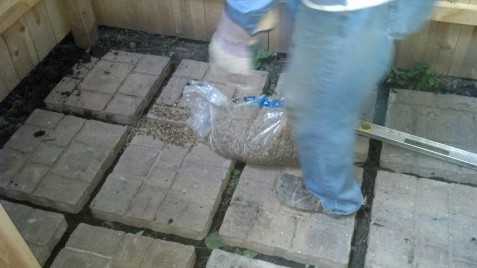
This when really quick! Next we filled in the gaps with the pea stones and used a bromm to push them down in to the gaps.
Done for the day!
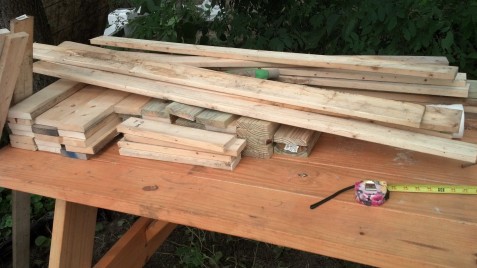
The next morning, we got started on the benches. There was a lot of wood to cut!
We started on the sanding and staining of the pieces, but did not get too far.
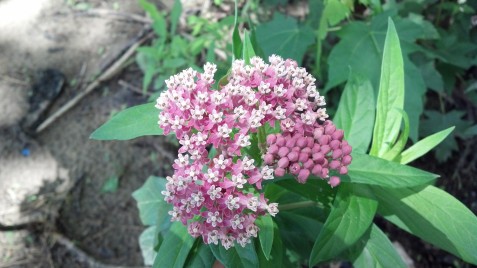
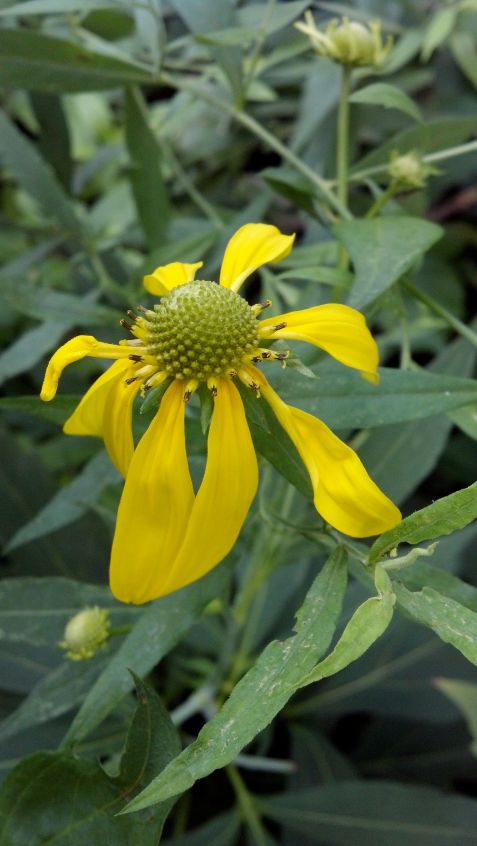
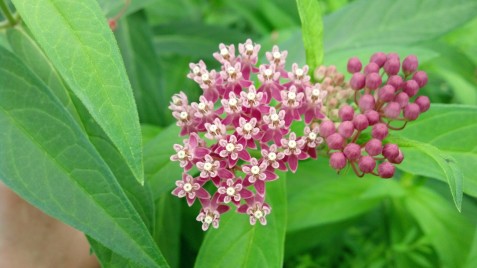
Taking a nice walk through the island,
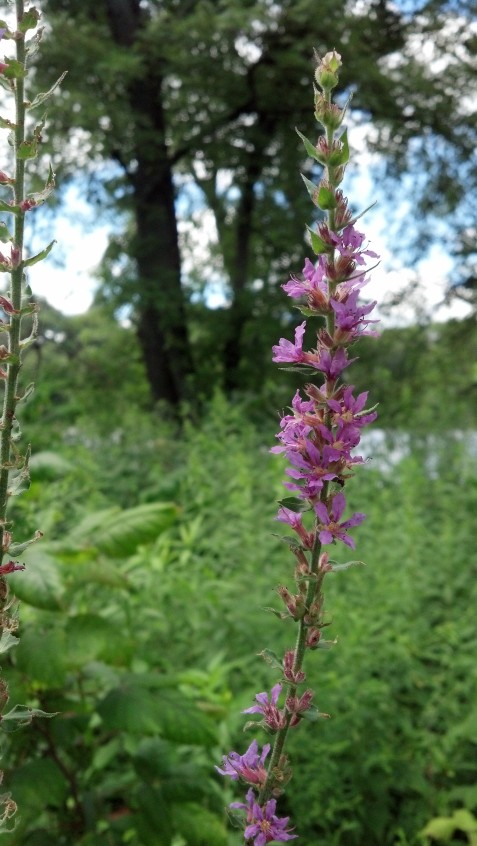
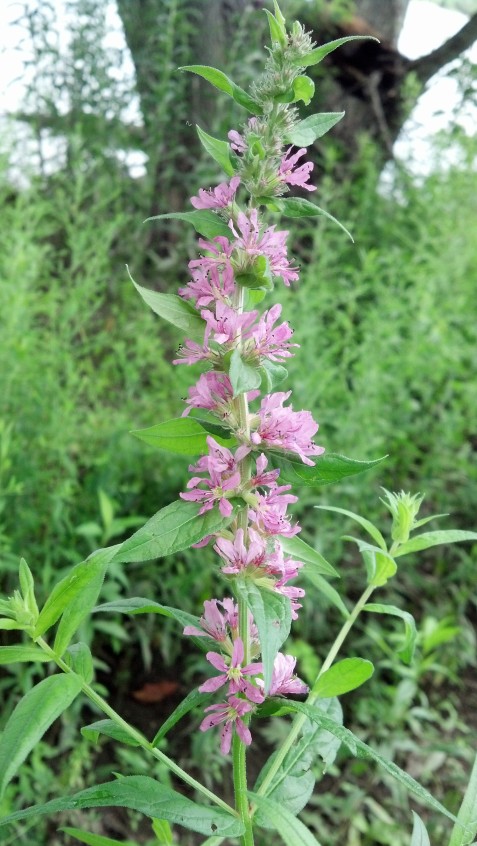
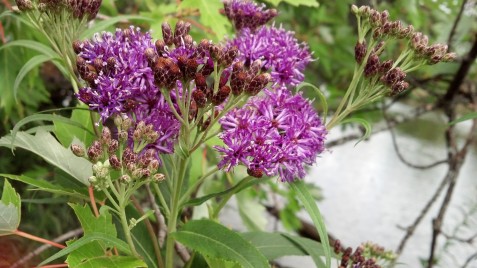
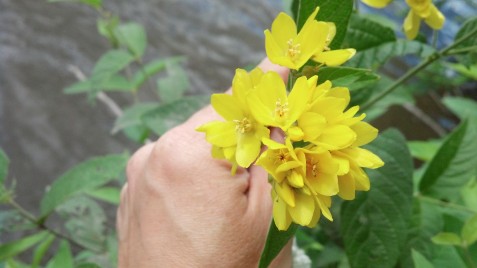
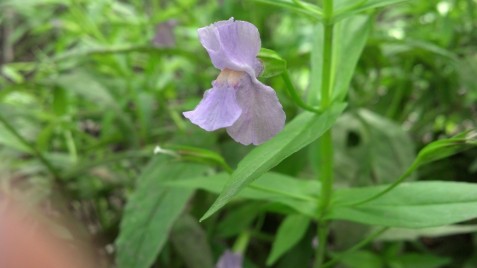
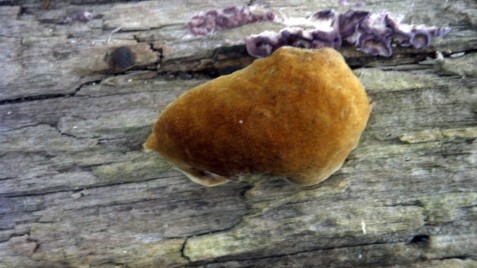
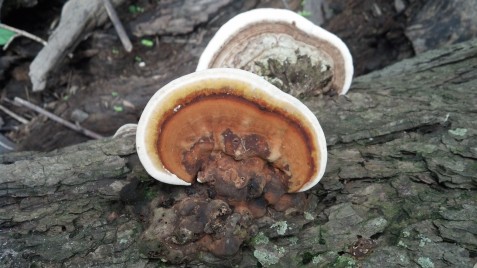
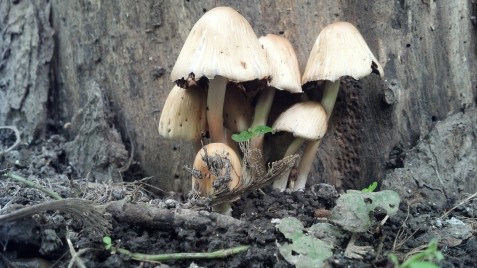
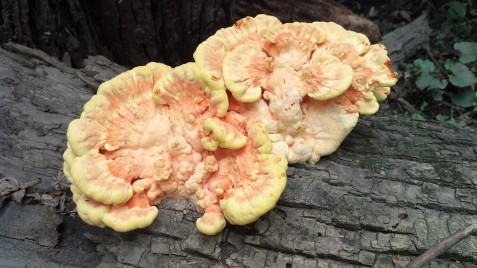
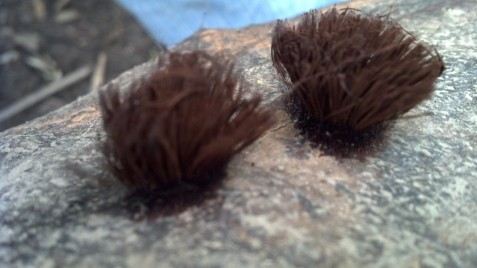
I found some great flowers and mushrooms:
Th one was so weird…..I have never seen anything like it! But it was growing on a tree.
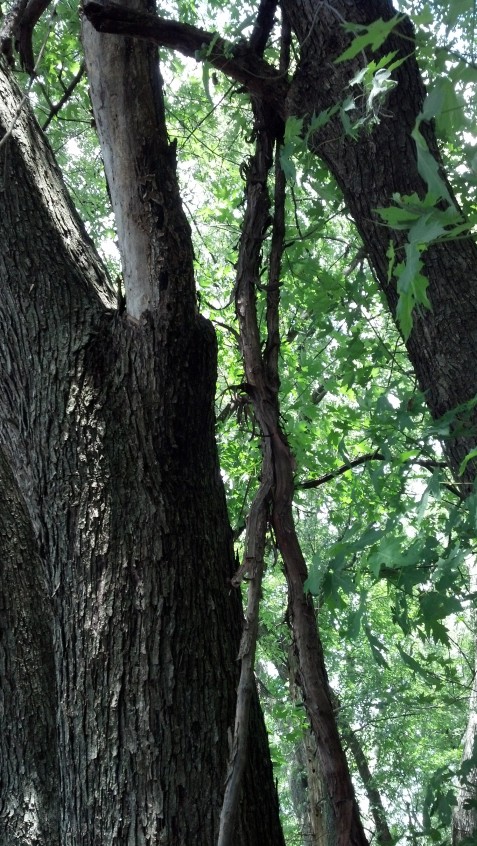
I also love these huge vines that are climbing up many of our trees.
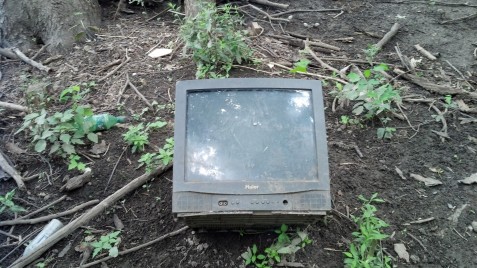
Very odd, not sure how this got here since last year, but we found a tv on the island! Must have floated during the flood!
Next weekend, we are heading out for a family get together at my cousins cabin, so there will be no island updates for a while.
 My Designs
 Profile
 Bobble Cable Slouchy Beret
 Bobble Cable Ascot
 Cable Koozie
 Treads & Tracks Scarf
 BeachComber
 SuperDog Cooling Cape
 Star Trek Beer Koozie
 Next Generation Beer Cozy

Leave a comment